When you take screenshots on Mac OS X there’s a shadow around the screenshot by default. This post shows how to disable the shadow from the screenshot and how to subsequently restore the shadow.
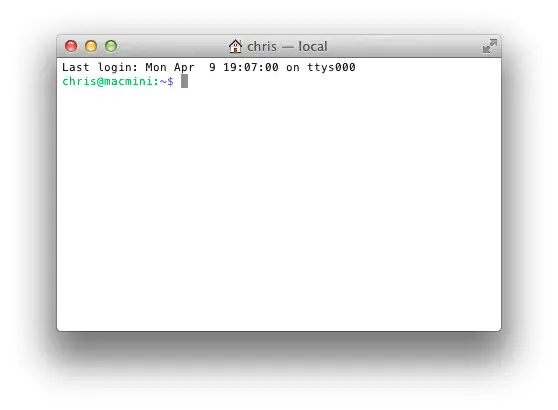
Screenshot example with shadow
The first example below is a screenshot with the default shadow around the window. It’s a nice effect but makes the image a lot bigger than it needs to be, which can be less than useful when doing documentation etc.

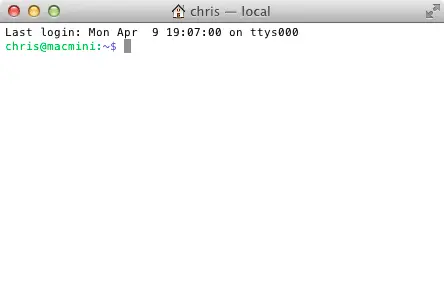
Screenshot example with shadow disabled
The second example below shows a screenshot of the same terminal window above, but this time with the shadow disabled.

The downside with this particular example is there’s no borders showing on the window in the screenshot, so there appears to be a lot of whitespace between the top of the screenshot and this text here, even though all that white space is part of the image.
So depending on the app you are taking a screenshot of, the result of removing the shadow may be good, or it may be not so good.
Disable the shadow from the screenshot
Open up Terminal and enter the following two commands:
defaults write com.apple.screencapture disable-shadow -bool true
killall SystemUIServer
The next screenshot you take will not have the shadow.
Enable the shadow in the screenshot
To reverse the above, enter the following two commands in Terminal. As you can see the only difference is changing "true" to "false".
defaults write com.apple.screencapture disable-shadow -bool false
killall SystemUIServer
Now shadows will appear in the screenshots again.
